
Introduction
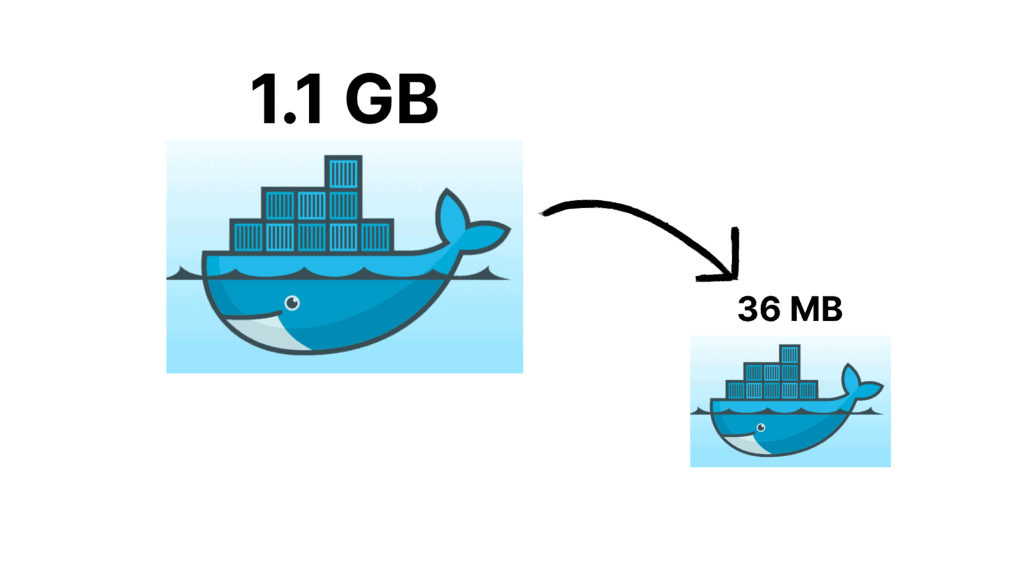
Hi! My name is Fajar Muhammad Hamka, and I am an AI Engineer at Money Forward in the AI Development Division. I began coding five years ago when I started college, with my experience primarily in backend development. Since joining this team, I have had the opportunity to expand my skills into MLOps, infrastructure, and application servers. Recently, I have been focusing extensively on backend and infrastructure work, which led me to experiment with creating more efficient Docker images. Through this process, I discovered a method to reduce image sizes by over 96%. In this article, I will share my approach to building Dockerfiles that dramatically decrease image size, making your deployments faster and more efficient.
Why is Image Size Important?
Image size can significantly affect applications in production. The difference between large and small images impacts several key factors, including speed, cost, and security:
- Faster Deployments: Large images take longer to pull during CI/CD processes, slowing down your workflow. The smaller your images, the faster your deployments.
- Improved Security: By crafting an optimized Dockerfile, you can include only the necessary packages. Fewer packages mean fewer vulnerabilities and a reduced attack surface.
- Reduced Costs: Larger images require more storage, which leads to higher costs. By minimizing image size, you can save on storage expenses.
Sample Application
Now, let’s walk through a practical example. We’ll start by building a simple application. You can also check out the codebase on my personal GitHub. Here, I’ll guide you step by step through the approach.
First, create a main.py file:
from fastapi import FastAPI

app = FastAPI()

@app.get("/")
def read_root():
    return {"message": "Fajar Here! Docker file python is working"}
We’ll use this code as our sample application.
Next, create a requirements.txt file:
fastapi[standard]Then, create a Makefile. Don’t worry about the details for now—I’ll explain each part as we go:
stage1:
	docker build -t fajar-app:stage1 . -f Dockerfile.stage1

stage2:
	docker build -t fajar-app:stage2 . -f Dockerfile.stage2

stage3:
	docker build -t fajar-app:stage3 . -f Dockerfile.stage3

stage4:
	docker build -t fajar-app:stage4 . -f Dockerfile.stage4

stage5:
	docker build -t fajar-app:stage5 . -f Dockerfile.stage5

stage5-with-py:
	docker build -t fajar-app:stage5-with-py . -f Dockerfile.stage5-with-py

run1:
	docker run -d -p 8000:8000 fajar-app:stage1

run2:
	docker run -d -p 8000:8000 fajar-app:stage2

run3:
	docker run -d -p 8000:8000 fajar-app:stage3

run4:
	docker run -d -p 8000:8000 fajar-app:stage4

run5:
	docker run -d -p 8000:8000 fajar-app:stage5

run5-with-py:
	docker run -d -p 8000:8000 fajar-app:stage5-with-py

hit:
	curl http://localhost:8000

images:
	docker images | grep fajar-app
Great! Now let’s create a Dockerfile for each stage of this application.
1. Standard Approach
Let’s start with a very basic and straightforward Dockerfile—something most beginners (including myself!) might write at first.
Create a file named Dockerfile.stage1:
FROM python:latest

WORKDIR /app

COPY requirements.txt .

RUN pip install -r requirements.txt

COPY main.py .

EXPOSE 8000

ENTRYPOINT ["uvicorn"]
CMD ["main:app", "--host", "0.0.0.0", "--port", "8000"]
Now, run the following commands in your terminal:
make stage1
As you can see, the resulting image is 1.1GB. This is quite large and inefficient, as it contains many unnecessary dependencies and a full Linux distribution.
Next, let’s run the container and test it:
make run1
make hit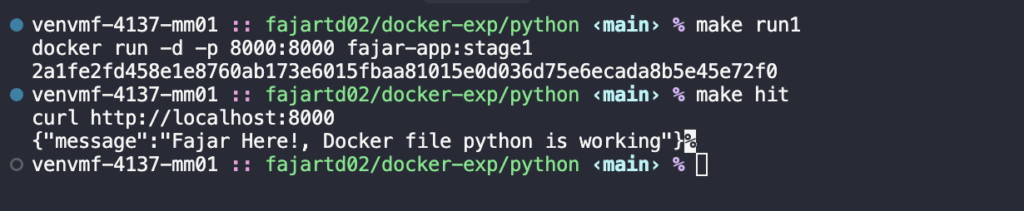
Great! The container was created successfully and returned the expected result. After running the application, remember to stop and remove the container, as we will be trying another approach.
2. Find a Minimal and Suitable Base Image
In this section, I’ll demonstrate choosing the most suitable one. Targeting for a minimal base image is one of the most effective strategies for reducing image size.
Slim
Slim images are paired-down versions of full images. They offer several benefits:
- Eliminate unnecessary packages and utilities that aren’t needed for runtime.
- Reduce the attack surface on the container side.
- Decrease image size, which improves build and pull times during deployments.
Now, please create Dockerfile.stage2:
FROM python:3.12-slim

WORKDIR /app

COPY requirements.txt .

RUN pip install -r requirements.txt

COPY main.py .

EXPOSE 8000

ENTRYPOINT ["uvicorn"]
CMD ["main:app", "--host", "0.0.0.0", "--port", "8000"]
Run the following commands in your terminal:
make stage2
Great! The image size was reduced from 1.1 GB to 228 MB, a reduction of 79.76%. This demonstrates why selecting the right base image is crucial for optimizing container size.
Lets create and test the container:
make run2
make hit
Awesome! it working also! but we have smaller images than before!
Alpine
Aplie is a linux with bare minimum packaged installed. In short apline is a minimalistic distribution. It’s not only reducing images, but also reduces the attack surface.
Now, please create Dockerfile.stage3:
FROM python:3.12-alpine

WORKDIR /app

COPY requirements.txt .

RUN pip install -r requirements.txt

COPY main.py .

EXPOSE 8000

ENTRYPOINT ["uvicorn"]
CMD ["main:app", "--host", "0.0.0.0", "--port", "8000"]
Run the following commands in your terminal:
make stage3
Fantastic! It is reducing from 1.1 GB to 128 MB which means reducing 88.63%.
Lets create and test the container:
make run3
make hit
Unbelievable! It working same like before with 88.63% less image size. Alpine uses musl libc instead of the more common glibc, and BusyBox instead of the GNU core utilities. These choices contribute to its small size and efficiency, as musl and BusyBox are designed to be lightweight and fast.
Overall, Alpine Linux’s small footprint, security features, and efficiency make it a popular choice for Docker containers, especially when the goal is to minimize resource usage and maximize performance.
3. Using multi-stage build techniques
Multi-stage builds in Docker are a technique used to optimize the size and efficiency of Docker images. By using multiple stages in a single Dockerfile, you can separate the build environment from the final runtime environment.
This allows you to include all necessary tools and dependencies for building your application in one stage, and then copy only the essential artifacts into a much smaller final image. This results in reduced image size, improved security by minimizing the attack surface, and faster deployment times.
Now, please create Dockerfile.stage4:
# Build stage
FROM python:3.12-alpine AS builder
WORKDIR /app

# Install build dependencies (including pip)
COPY requirements.txt .
RUN pip install --user -r requirements.txt

# Copy application code
COPY main.py .

# Final stage
FROM python:3.12-alpine
WORKDIR /app

# Copy installed Python packages from builder
COPY --from=builder /root/.local /root/.local
COPY main.py .

# Ensure user-installed packages are in PATH
ENV PATH=/root/.local/bin:$PATH

# Expose port used by FastAPI (assuming Uvicorn)
EXPOSE 8000

# Use Uvicorn to run FastAPI app
ENTRYPOINT ["uvicorn"]
CMD ["main:app", "--host", "0.0.0.0", "--port", "8000"]
Run the following commands in your terminal:
make stage4
Fantastic! It was reducing from 1.1 GB to 105 MB which means reducing 90.55%.
Lets create and test the container:
make run4
make hit
Working as expected! We have similar function with 90.55% less size images. Multi-stage builds are effective because they streamline Docker images by separating build and runtime environments, reducing size and complexity.
This pattern is common in projects using languages like TypeScript or Node.js, where build tools and dependencies are needed during development but not in production, allowing for cleaner, more efficient final images.
4. Convert to binary files (standalone executable)
Basically, instead of using the entire project codebase, we convert it into a single file. It’s compiled down from Python into native machine code + bundled Python interpreter + dependencies. So, you can run it directly like any other system-level app simply running ./run on Linux/macOS or run.exe on Windows. It doesn’t need Python installed to run.
In Python, you can use packages like pyinstaller, while in Node.js, tools like pkg can bundle entire applications into standalone executables.
This method reduces the attack surface and simplifies dependency management. It also allows the application to run in a minimal runtime environment, meaning you can use the most basic runtime image available. This significantly reduces the image size and improves startup speed.
Now, please create Dockerfile.stage5:
# Stage 1: Build binary using Python + PyInstaller
FROM python:3.12-alpine AS builder
WORKDIR /app

# Install build dependencies
RUN apk add --no-cache build-base libffi-dev

# Install Python packages
COPY requirements.txt .
RUN pip install --user -r requirements.txt pyinstaller

# Copy app code
COPY main.py .
COPY run.py .

# Compile into single executable
RUN /root/.local/bin/pyinstaller --onefile run.py

# Stage 2: Minimal final image
FROM alpine:latest
WORKDIR /app

# Install only required system libs (optional: libc6-compat if needed)
RUN apk add --no-cache libstdc++ libffi

# Copy compiled binary from builder
COPY --from=builder /app/dist/run .

# Expose FastAPI port
EXPOSE 8000

# Run the binary
CMD ["./run"]
For the binary approach, we need a Python file to expose the server. Please create run.py:
from main import app
import uvicorn

if __name__ == "__main__":
    uvicorn.run(app, host="0.0.0.0", port=8000)
Run the following commands in your terminal:
make stage5
Fantastic! It was reducing from 1.1 GB to 36 MB which means reducing 96.73% (Over 96%).
Lets create and test the container:
make run4
make hit
Wow! Isn’t that amazing? We managed to get the same functionality with a 96% reduction in image size!
But honeslty, this method a little bit hard to implement, you need to experiment dependencies by dependencies and check if the dependencies need other dependencies or not and it will take times. Honestly, when i created this experiment, i also got a lot of problem when trying implement this binary files 😃.
Also some of you maybe asking, why not use python:alpine instead of alpine directly? Of course, we want to reduce python itself! because we don’t need it anymore, it was a binary files. I have a proof, as you can see on the below images:

As you can see, it was bigger then before, it was 80.3 MB, which means over 2 times from only using alpine. So it’s better to use alpine only!
Additional Information
Adding .dockerignore
Creating a .dockerignore file is a crucial step in optimizing your Docker build process. This file functions similarly to a .gitignore file, specifying which files and directories should be excluded from the Docker build context. By excluding unnecessary files, you can reduce the size of the build context, leading to faster builds and smaller image sizes.
For example:
# Python artifacts
__pycache__/
*.py[cod]
*.pyo
*.pyd
*.egg-info/
*.egg
.env
*.env
.Python
node_modules/
For above example, this file will be excluded during the build process, particularly when using the COPY or ADD instructions in your Dockerfile. When you use COPY . . in your Dockerfile, the node_modules directory and .env file will be excluded from the build context and will not be copied into the Docker image.
Notes for optimization
Yes, we can optimize, but it’s important to keep an eye on functionality. You might reduce the image size successfully, but some features could end up with bugs because of it. So, it’s really important to test everything after creating the images. There might be cases where some features crash or break. Be careful when refactoring old projects, and make sure to test thoroughly before deploying to production.
Final Conclusions
In this article, we managed to reduce the image size from 1.1GB to 36MB, achieving a reduction of over 96%. The key takeaway here is the focus on security, efficiency, and cost-effectiveness, which maximizes our applications.
By following these techniques, which result in smaller containers, we gain several benefits:
- Reduced security risks
- Faster Deployment
- Lower costs
- Improved utilization
It’s important to remember that the smallest isn’t always the best. The key is finding the method that suits our projects. If we cannot implement some techniques like binary, that’s okay, we can explore other approaches like multi-stage builds, which can reduce the size from 1.1GB to 105MB, a reduction of over 90%.
And most importantly, don’t forget to test your project after you refactoring or reducing your Docker images. The important thing is how we deliver our products to the users, aligning with Money Forward’s value of User Focus.